
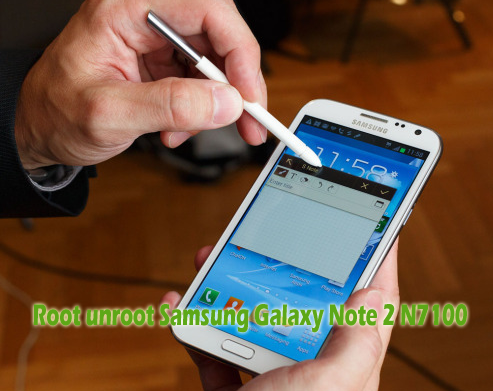
Samsung latest phablet Note 2 N7100 is a revolutionary device with lots of new mobile technology. The most impressive thing is a microwave technology driven S-Pen stylus that adds more credits to its awesomeness. Note 2 is powered by a Quad core processor and ranks amongst the best performing hardware available on Android phones. We are here to tell Note 2 N7100 users how they can root their device. We have also added a clear tutorial at the end to unroot Galaxy Note 2.
We will be soon coming up with an article on Best custom ROM for Galaxy Note 2 N7100. Stay tuned with us. Tip: How to unbrick Galaxy Note 2.
Warning: The article deals with developers performings with your device which may lead you to unwanted situations. Therefore, please proceed at your own risk.
How to Root and Unroot Samsung Galaxy Note 2 N7100
Step 1: The article should only be implemented on Samsung Galaxy Note 2 N7100. Do not try this article on any device or any other variant of Samsung.
Step 2: Charge your device so that there is at least 70% charge with it, so that there will be no Power interruption during the process.
Step 3: You should backup all valuable data’s on your tablet, so that there is no data loss during the process.
Step 4: Disable all Security programs like Antivirus and Firewall from your computer and uninstall the same from your tablet, as these security programs generally tend to interrupt the process.
Step 5: Enable USB Debugging in your Samsung Galaxy Note 2 N7100 from the path “Settings > Applications > Development > USB debugging”. The option of USB Debugging should be ticked.
Step 6: Download Odin and Rooting Package and Stock Firmware (for Unrooting) from here to your computer. Install Odin onto your Windows PC and extract both files (Rooting Package and Stock Firmware) into separate folders onto your desktop.
Step 7: Reboot your device so as to enter it in Download Mode. To do so, press and hold the Volume Down + Home + Power buttons together until the screen turns ON. When you see a warning screen, press the Volume Up button to enter into Download Mode.
Step 8: Now, connect your phone to the PC Via original USB cable i.e. The cable that came with.
Step 9: If the ID: COM section in Odin has turned “Yellow” and you are able to “Added” message in it, your device has been recognized by the PC by installing its necessary drivers.
Step 10: Now, click on “PDA” button and from the folder where you’ve extracted the rooting package choose the “.tar.md5” file.
Step 11: Next, click on “Start” button to begin the flashing process.
Step 12: As soon as the installation process has completed, you will see a “Pass” message in Odin and your device will automatically reboot. (Your Samsung Galaxy Note 2 N7100 has now been rooted).
Step 13: Now, to unroot your Galaxy Note 2 N7100, simply flash the stock firmware on your device and it’ll be unrooted.
Step 14: In the similar manner as you’ve flashed the rooting package, click on “PDA” button and then choose the “.tar.md5” file from the folder where you’ve extracted the stock firmware file.
Step 15: Now, click on “Start” and soon the unrooting process will complete and you will see a “Pass” message in Odin.
Step 16: Your device will also reboot on successful completion of the installation process.
Great! You’ve accordingly Rooted/Unrooted your Samsung Galaxy Note 2 N7100. Share your views with us, we’ll be glad to listen them from you.
i do the un root
the stock installed but the device is frozen on samsung logo 🙁