
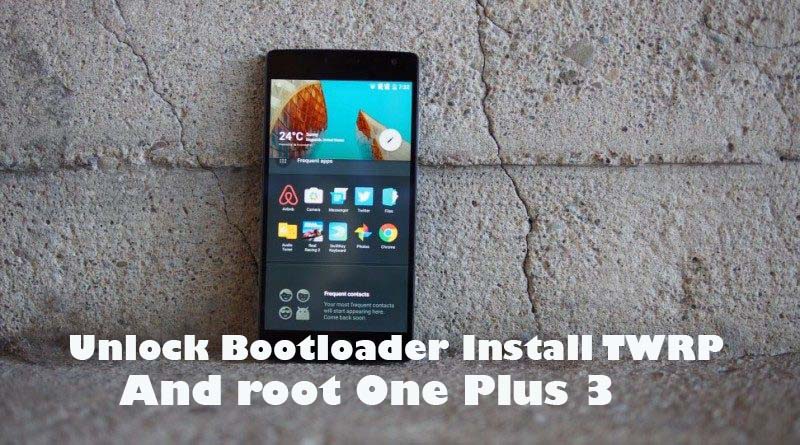
One Plus 3 is a budget flagship device launched recently, we have already reviewed the phone and compared One Plus 3 VS Xiaomi Mi5. The device has top notch hardware to compete with devices that are double its price. This attracts people who go behind the budget devices that have great hardware with good build quality. Many people have purchased the device and asking us about how to unlock and root One Plus 3 safely.
We will suggest you to create a backup of all your essential data like contacts, WhatsApp, messages etc before going ahead with the procedure. There is a manual way to unlock the bootloader, root and install TWRP recovery on One Plus 3 but we are going to tell you about a great All-in-one tool developed by XDA forum senior member “mauronfrio”. We thank him here for being so swift and developing this great tool for One Plus 3 users.

One Plus 3 All-in-one tool download
This all in one tool is developed to use with One Plus 3, One plus 2, One plus one, One Plus X and few other devices. The tool has the capability to install drivers, verify device recognition, verify boot loader lock status, Flash stock firmware, Flash stock recovery, Flash Custom recovery. You will need to root the device manually using SuperSU zip.
How to Unlock Bootloader, Install TWRP, and root One Plus 3
Step 1: Download the All in One Toolkit to root One Plus device from the link mentioned above. Unzip the toolkit in a folder and place it on an easy to access location like your PC’s Desktop.
Step 2: Open the toolkit and Click Install Driver button. This will install the ADB and required drivers. You can download and install the Drivers manually using this link.
Step 3: Enabled USB debugging by Going to your Phone settings and finding the option inside “Developer options”. If the developer option is not available then you can enable it. Go to settings>>About Phone>>Build Number. Tap on the Build number information tab 7 times. It will show “Developer options unlocked” as a message. Go back to settings and enabled USB debugging.
Step 4: OEM unlocking – Go to settings>>Developer options and enable the “OEM unlocking” option.
Note: From now on, please make sure OEM unlocking is enabled whenever your reboot your device.
Step 5: In the developer options enable the “Advanced Reboot” option. This will make rebooting into recovery or download mode easy for you.
Step 6: Reboot the phone in Fastboot or Download mode using the advanced reboot option. If it does not work, then turn off the device. Now, press and keep holding “Volume up + power buttons”. It switches on and displays “Fastboot”.
Step 7: Plug the phone to PC using the USB cable. Now, reopen the toolkit.
Step 8: Click on the scroll button on the top right of the toolkit. Select your device. Now, click the button “Verify if the device is recognized”.
Step 9: Once it confirms that device is recognized, go ahead and Click “Unlock”. This will unlock the bootloader.
Step 10: If the device reboots then again bring it into fastboot mode and go ahead. Connect the device to PC, open toolkit. Now, Click the “Verify if the bootloader is unlocked” option. This will give you a confirmation message about the bootloader lock status.
Step 11: Now, Flash TWRP recovery. Go ahead and check mark the “And Reboot” option below “Flash TWRP button” and then press the flash TWRP recovery button.
Step 12: The toolkit will flash the TWRP recovery and restart the phone. Once the phone boots on Go ahead and download SuperSU zip and copy it to phone’s storage.
Step 13: Go ahead and press power button for 3-4 seconds and select option “Recovery”. If this does not work, switch off your device and keep pressing Volume down + power button to boot into recovery.
Step 13: Once you are into TWRP recovery. Tap the Backup Option and select “all the listed partitions”. And swipe to create a Nandroid backup of your current firmware.
Step 14: Now, Select “option install a zip” go ahead browser and select the Supersu zip file. And go ahead with the installation. This will install superSU. Now, tap on reboot option.
Step 15: Once phone boots into normal mode go ahead and open SuperSU and let it update binary.
Now, you have unlocked the bootloader, TWRP recovery installed and rooted One Plus 3 device. Enjoy it, you can also install custom ROM or Xposed framework to customize the device further.
Tip: Customize your Android Phone
