
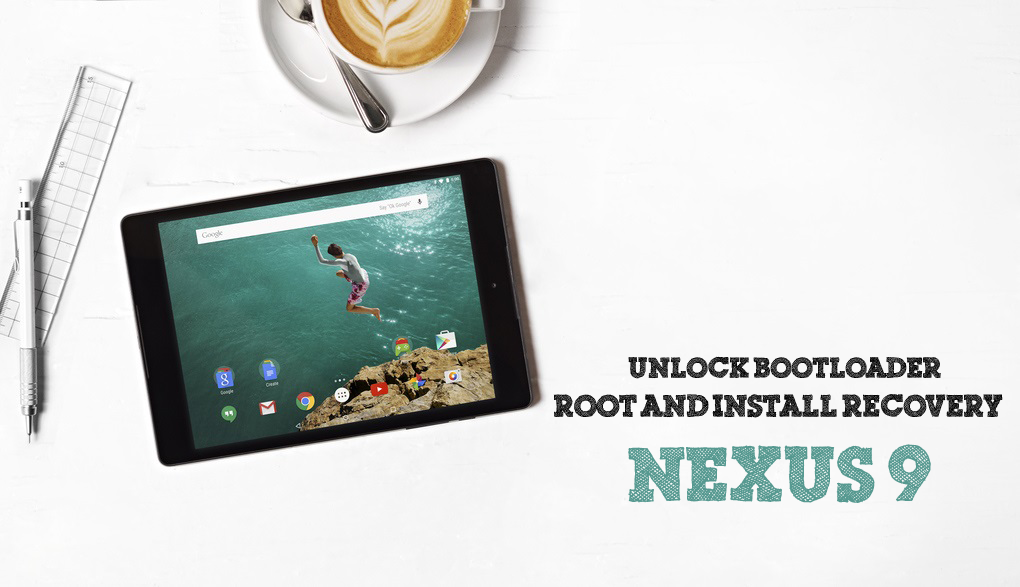
Nexus 9 is the latest Android tablet, made in collaboration with Google and HTC, running the latest Android 5.0 Lollipop OS. The tablet comes with some pretty good specifications – a Dual-core 2.3 GHz Denver CPU under the hood along with 2 GB RAM. It has a Kepler DX1 GPU. But still, to get the most out of your tablet, rooting, unlocking Bootloader and installing recovery are a must.
Soon there will be lots of custom ROM and tweaked kernel available for Nexus 9 as the tablet is selling like hot cake and developers too are attracted toward it. Xda dev forum has already reported some development going for Nexus 9.
tip: Once rooted you must try Xposed firmware
How To Unlock Nexus 9 Bootloader
Nexus 9, like all other tablets out there, ships with its Bootloader locked. But if you want to install custom ROMs you need to unlock it. So here goes the tutorial of unlocking its Bootloader.
(Please make a full backup before attempting anything, since your data can be wiped.)
Before we start, you need to go through a few preliminary steps –
- Go to settings -> About Device, and tap the Build Number repeatedly a few times till you enable developer options.
- Now go to Developer options, and tick the options – USB debugging and OEM unlock.
Also, you need to have the Android SDK already installed on your computer, and you need to have a data cable as well for connecting your Nexus to the PC.
So, now that everything is ready let the fun begin!
- When you connect your tablet to the PC, you should tick the USB debugging option.
- Now, go to the folder where your SDK is located and then open a command prompt from within the Platform-tools SDK folder.
- Now you need to type the following command into your command prompt. adb reboot bootloader
- Your tablet should restart, and it should enter the Bootloader menu.
- Initially, you will see the message at the bottom that the device is locked. Now, type the following command- fastboot oem unlock
- You will get a confirmation page with warnings like your warranty will be void, all your apps will be wiped out etc. (You already knew those, right?). Confirm it with the power button.
- The unlocking procedure will be over in a few minutes, and you will be brought back to the same screen. However, this time, the message at the bottom will say device is unlocked.
- So now, disconnect your tablet, reboot it, and finally you have successfully unlocked the Nexus 9 Bootloader!
Note: For Mac users, you need to put a “./” before the commands(without the quote) for the commands to work.
How to root Nexus 6
Installing TWRP Recovery on Nexus 9
So now that the Bootloader is unlocked, you can install custom ROMs like Cyanogen MOD, Paranoid Android, MIUI etc. But before that, you need to install a custom recovery like TWRP recovery to help you make backups of system files and restore them, if needed.
So before starting the tutorial, you need to download the recovery image file from this website- Nexus 9 recovery image. Remember that this is only for Nexus 9, and must never be used on any other Android device or else your device might be bricked.
The following steps will assist you in installing the recovery software.
- Switch off your Nexus 9 and press the volume down and power button simultaneously which will boot the device into the Bootloader menu, or you can follow step 3 in the above tutorial. Both will function perfectly.
- Now, open a command prompt just like the previous way.
- Next, transfer the downloaded file to the platform-tools folder.
- Now, just enter the following command and press enter. Replace the “recoveryfilename” with the name of the file that you have downloaded. fastboot flash recovery recoveryfilename.img
- And you are done! You have successfully installed TWRP recovery on your Nexus 9.
How to Root Nexus 9
Rooting this tablet is actually extremely easy, and the entire credit goes to developer Chainfire, who has created an awesome tool called CF Auto Root. This tool can easily root your Nexus 9 with just one click! You can download the tool here.
So before starting, you need a few tools ready which you will need during the process.
Pre-requirements
- Windows or Linux PC or MAC
- CF Auto Root
- USB Data Cable
- First enter Bootloader menu, by following step 1 of the previous tutorial.
- Extract CF Auto Root (that you have downloaded) to any folder that you want.
- You will find that there are 3 files for three operating systems – Windows, Linux and MAC, along with 2 folders as well.
- Run the root-windows.bat file if you are a Windows user (or the corresponding file), and a command prompt will appear.
- It will first try to unlock the Bootloader, but since that’s already done, it will simply continue with the rooting process.
- After it is done, the tablet will reboot and your Nexus 9 will be rooted! You should find the SuperSU app in your app drawer.
If you have followed all the steps perfectly, by now your Nexus 9 should be rooted with TWRP recovery installed. These might seem a bit difficult for first timers, but with practice you will realize how easy this is. Happy rooting!
